Saturday, December 28, 2013

Christmas Nails

Well here it is the 28th and I still haven't posted specifically about my Christmas nails. It's been a crazy week. Topped off with my mom in the hospital yesterday, nothing super serious just an abundance of caution. Still stressful. ANYWAY about my nails. I used a green color I am fond of for a base coat then added nail vinyls then threw on a copper to red gradient. It looked nice but a little "crazy" according to my family who noticed them. Here are some pictures: 


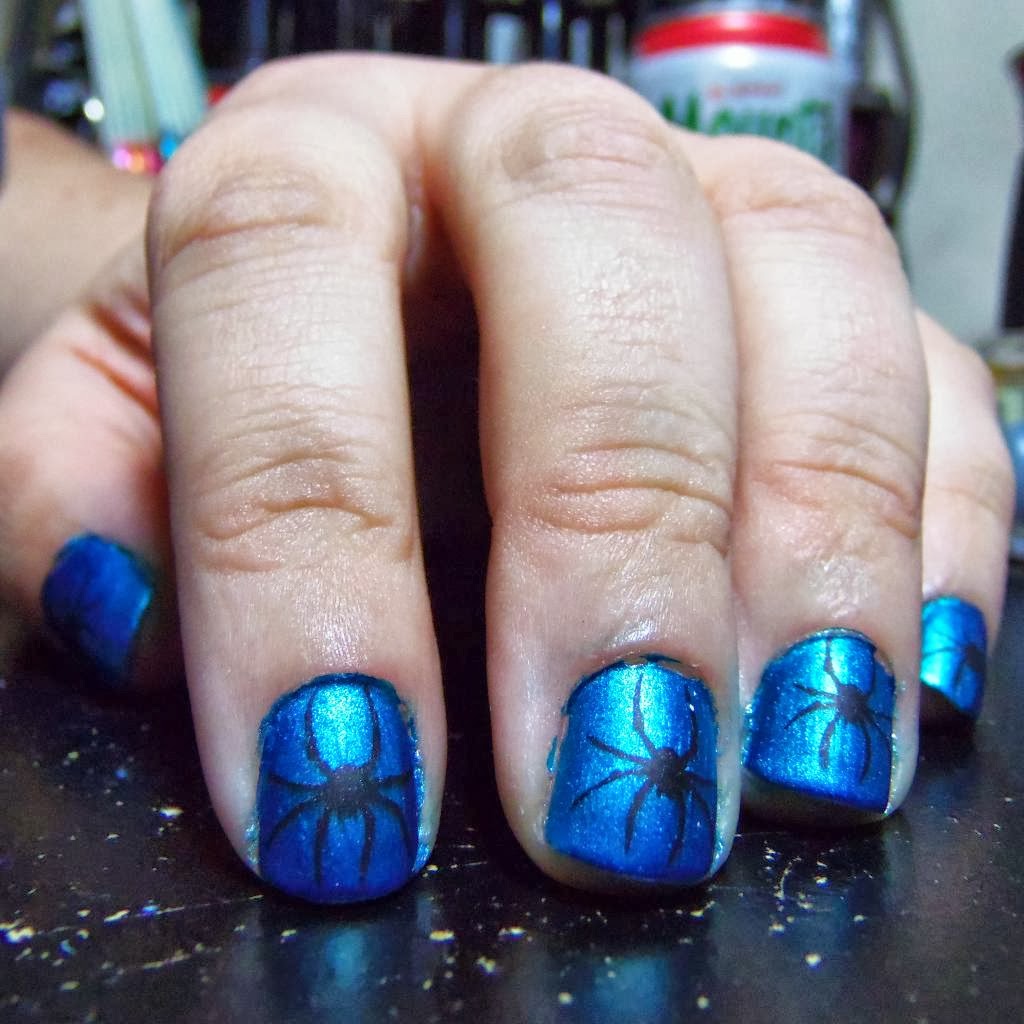
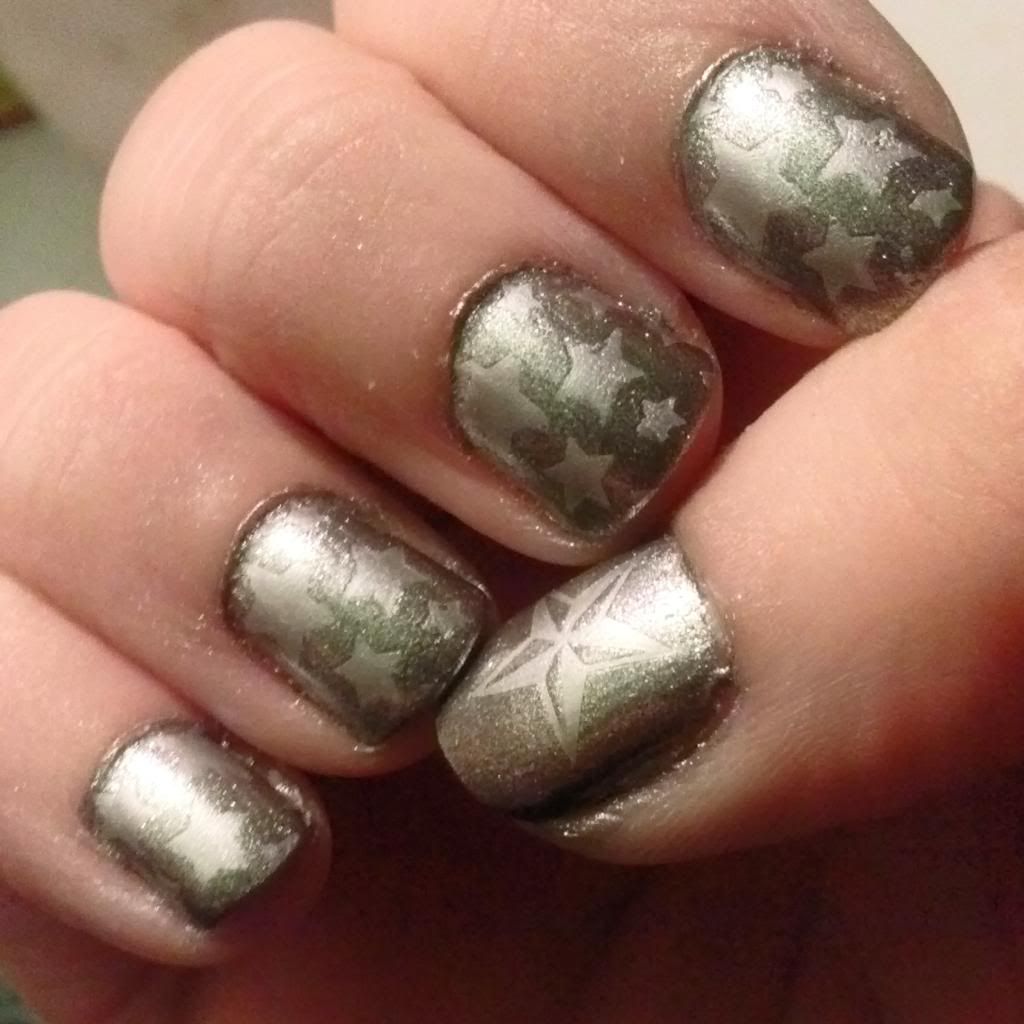
As you can see the shades were not "typical" Christmas shades but I love them regardless. My ability to place the nail vinyls is getting better. So hooray.

I am still tired I just wanted to get this post out before I fall asleep again.

Polishes Used were 
China Glaze Agro
Kleancolor Metallic Red
Revlon Copper Penny
Seche Vite Top Coat

Wednesday, December 25, 2013

Finally... a light box.

I finally made a light box for myself. I used a medium shipping box and paper towels. It is glorious. I actually also used some twigs from a plant we have to re-enforce the areas where the cardboard was pretty narrow. It's small as light boxes go but it will work for pictures of my nails!

Here is the box:


And my messy desk.

Anyway here is a picture I took with it of my Christmas nails (which I will talk about more in my next post).


Unfortunately along with my pretty polish, you get to see all my ragged skin/cuticles/fingers. But I am still happy with having made the box. I've been meaning to for months and now I did. ITS A CHRISTMAS MIRACLE!!

Anyway, Merry Christmas everyone, what did you get? Did you have fun with family and/or friends?

Friday, December 20, 2013

Christmas Chevrons Attempt.

Well since the big day is quite literally around the corner (five days?!) I decided to start playing with ideas for how to do my nails for Christmas. Last night I was really having trouble sleeping so I just decided that was the time to start. Three in the morning is a great time to paint your nails right? Right.

So I got out my only solid gold polish, which is actually Klean Color Metallic Yellow, then started looking for a good metallic green and a good metallic red that would look good with the "yellow." I finally settled on Wet-n-Wild Poison Ivy and Wet-n-Wild Under Your Spell. Ironically those are from the Halloween/Fall collection if memory serves.... 

Anyway painted on a base coat, then the gold, waited for everything to dry up, then applied some single chevron Nail Vinyls, aand on went the green(Poison Ivy) on all but my ring fingers who each got the red color (Under your Spell).

Naturally polish went everywhere, my nails, my skin, my desk.... it was after 3am, that's my excuse. Yep. I was tired, uh-huh, yep.

Anyway After removing the Nail Vinyls I had some pretty rad looking nails but they don't strike me as a great Christmassy paint job. One of my friends (who happened to be online while I was doing this) says they remind her of Power Rangers. Not what I was aiming for, not at all.... Still I really like them.

Here is a picture:


These were taken pretty much right after I finished doing clean up. After I took these pictures I was still not ready to sleep so I took a shower and next thing I knew the sun was rising. Whoops.

But wait... the sun... for the first time in weeks is actually showing through the clouds?

SUNSHINE NAIL POLISH PHOTO OP!

So I took a couple more pictures and my nails looked even better anyway thanks to the shower lifting off more excess polish.


The reason these aren't Christmassy enough is that the green and red are too dark. So my next attempt will involve a brighter green and a brighter red if I have one. I don't have very many reds.... Also in the sunshine pictures you can see my flubs. Whoopsie-poopsie.

Anyway, have a holly jolly holiday season! If I don't see you again before the holidays are past I hope they are merry and full of joy!

Thursday, December 19, 2013

Nail Vinyls! Such fun! Much Awesome!


Have you ever tried to cut your own chevron strips/stencils for your paint jobs with masking or scotch tape? I have, aaaand it sucked. Recently I was cruising around instagram and came across a small review and pictures of the beautiful lines nail vinyls makes. Without ripping up your base color or being horribly uneven in shape/size.

So I waddled to the linked shop and bought a handful of them, they are very inexpensive, and they arrived yesterday which was 2 days after they shipped. My only complaint about the shipping was it arrived at our house with the return address label ripped half off and the envelope was open. I assume it was the crazy postal service's fault but who knows for sure, everything was still in it so I'm not upset.

I wanted to try them immediately buuut we had errands to run and I didn't get back home until well past dark (which is around 5pm here) and I had to put stuff away, make dinner, and all sorts of distractions. I finally gave the french tips vinyls a try. They worked like a dream and the only problem is my nails are stubby and I am horrible and getting them straight. I don't do tips often so I figured if I used that sheet first and accidentally mutilated beyond use some of the vinyls I would not be heartbroken. HOWEVER! they worked great I was able to reposition the ones I misplaces without the adhesive damaging my base color or losing their stickyness too much to still work. That alone made me love them. After I got them situated and painted on my second color and removed them the crisp lines were to die for. However there is a noticeable "altitude" difference between where the stencil was and the second color, however it filled in and smoothed out nicely with the application of a top coat.

The result? These:

Beautiful tips using Pure Ice All Night Long and Revlon Emerald City

Compared to my usual tips these are vastly superior. And as you can see the biggest problem is my sloppy painting skills.

And for those who wonder, this is what the vinyl sheets look like:

Black (and whites if you can see them) are for half moons. The top red and greens are different sizes of chevrons. The pink is a single chevron. The lower red is three sizes of stripes and the very bottom green is for french tips.

SO, this is me saying OMG! THESE ARE GREAT! When I get more money I will be getting the lightning bolt vinyls. I am very sad that I have to wait until the first to get paid though... I want them now!

And now that you have read far too much of my raving and rambling... here is the link you probably want:

NailVinyls Shop!

Hooray!

Saturday, December 14, 2013

Thanksgiving Nails

A simple french tips style done with two SinfulColors polishes. I had planned something different but was pressed for time and fell back on this.


Colors used were SinfulColors Dancing Nails as a base then a layer of NYC Matte Me Crazy top coat, then tips done with SinfulColors Rich In Heart. I feel like I used too thick a line for the tips but that's what happens when you freehand I guess? Still I like how it turned out with the matte lighter shade and the super glossy dark tips.

Shopping Spree on November 30th!


Yep. Spent over 40 dollars at Sally Beauty on stuff for myself and for gifts. As well as a few dollars on stuff at Rite Aid for myself. Most of the "stuff"? I'm not saying it was nail polish... but it was nail polish. As a side note because I spent so much at Sally I got a free flat iron. Which I might never use becasue curling with it is a pain and my hair is pretty durn flat/straight anyway. MOVING ON!

Sally now carries OPI. HOORAY! But it is still like 8 bucks a bottle. So the four I got are probably the only four I will get for a looong time. But they are so pretty! The first paint job I did with the new polishes was using the dark blue OPI and stamping a lighter blue atop it and it was gorgeous:


This is OPI Incognito in Sausalito as a base with Sally Hansen Xtreme Blue Me Away for the stamps. I love the deep blue of the OPI. I can't begin to tell you HOW MUCH love I have for it.

The next paint job was a gradient, or ombre if you wanna use fancy talk, using two OPI colors. I have three pictures to share:

First you make a mess here....

Then you make a BIG mess on your fingers!

 And finally! BEAUTY!

This was done with OPI Teal the Cows Come Home and OPI Purple with a Purpose. Both are beautiful colors and both are great to work with in a gradient! I have not used the fourth OPI yet or any of the polishes I got form Rite Aid. All in due time though... all in due time.....

"Advanced Stamping"

This was fun to do. It was also mildly difficult. It's a nail stamping technique that I have been wanting to try but wasn't sure how to do it until I stumbled across a blog post (link here) that explained it and made me giddy. I used the stamper I had, and it worked great but I don't know how squishy or not squishy different stampers are. My stamper came with the Salon Express kit my mom got me last year.

Anyway this was my first attempt:


Like I said this was super fun but also fairly hard since I was painting with a nail polish bottle brush not a fine nail art brush (which I have a set of now! WOO!). I really liked it and everyone I showed in the real world were impressed, which was fun.

Anyway if you have stamping supplies and a stamp plate with a design that lends it's self to this technique, DEFINITELY try it at least once. It's pretty awesome.

Polishes Used:
Base: Finger Paints Pink Patina
Stamp: Finger Paints Pretty as a Portrait
Stamp Flowers: Sally Hansen Xtreme Lacy Lilac
Top Coat: Seche Vite

Well then....

Over a month and I haven't posted anything. Shame on me. I need to dig around a bit for pictures to post, because despite not posting I HAVE been painting. Should I post them all in one go or separate? Hmmm...

Be back later tonight with much postings!

Wednesday, November 6, 2013

Sick again, and seasons suck.

So here I sit day one of being sick yet again. So not cool. Also my Seasonal Affective is kicking in pretty seriously. ALSO we had snow this morning. Snow in the first week of November is nearly unheard of here. Even if only a light dusting. So I went out in my sandals and took some pictures of the snow like the crazy person I am even though I was/am sick.


It was the really sticky kind of snow, because when I got up it was 33 degrees so things were getting melty.

AS FOR POLISH. I had some mail arrive last week. And thanks to it I was painting like crazy.


These are what I tend to do my "personal reference swatches" on. But since 200 of them arrived (as per my order) I may try using them for a bit of nail art practice.

And today I did some counting and not counting clear top/base/treatment polishes I haaaaaave:


153 bottles of polish! Kinda crazy for me to come to this realization as I have only been buying them since about this time last year. I don't even want to do the math on how much all that cost me.....

Later today I'll be posting actual nail polish photos instead of this post which is more of an "update I still am alive, barely" post. However before I leave and post this I want to throw in the nails I had on Halloween day:


It's "spooky eyes in the shadows" or "Miyazaki Soot Sprites" depending on the interpretation. Cute, simple and fast. Using Revlon Brilliant Strength Beguile as a base and eyes' pupils. Also using SinfulColors Snow Me White for the eyes' whites.

And that's all I have for you right now. I really need to take a nap. Tah-tah and happy painting!

Tuesday, October 29, 2013

Last Weekend's Halloweeny Nails.

Apologies again for lack of posting. I seem to do that every time I make a blog. Stick with it for a while them run away for a month or two. Yes this wasn't a month (or two) but it was still longer then I had intended.

So a certain someone whom I follow did Halloween nails and I liked one of the designs she did so much I decided to do something similar. Funny how that is because she was inspired by another blogger.

Anyway my weekend nails were orange with stitches (not quite patchwork) and skulls on my ring fingers for a bit of pattern breaking.


Not very fancy, but my friends seemed to like them. I would have kept them on longer but today I got a new Housing to put on my DS lite and in swapping out the housings my nails got pretty much ruined. So tonight or later today (is it really 4am?!) I'll be painting them again.

Hmm what to do....

Thursday, October 24, 2013

Walmart Polish-Blocked again!

So I was in Moses Lake last Friday and saw Walmart there had the fall colors and holo collections form Salon Perfect. At the time I was on a schedule and couldn't pick up any except two holos. So I went back on Tuesday and the display was 100% gone I scoured the entire cosmetics department incase they had simply moved it. But to no avail. I was quite upset because there were about 6 colors I had wanted. 

So today I'll be going to the closer Walmart that never has anything seasonal (as far as makeup/nail polish) in a last ditch effort to find these colors. I expect much disappointment.

In Summation:
Walmart is mean to me. :C

Tuesday, October 22, 2013

Still sick, but painting again!

I'm finally getting over my 20 day (and counting) cold. Although my mum seems to have it now...

Anyway today I went shopping in town, a dangerous thing for me to do.... and came out with MORE POLISH. Mostly stuff I hadn't planned on getting but fell in love with when I saw them.

Here is a picture of the haul:


The three on the left are Wet-n-Wild MegaLast colors, apparently re-releases of last year's Pick Your Poison collection, I got Toxic Apple, Poison Ivy and Lethal Injection. Next to them is bottle a SinfulColors' Black Magic. Next to thaaat are two polishes my mom actually got for herself (which doesn't mean I'll never use them...) They are Sally Hansen NailGrowth Miracle in Sweet Sunrise and Mighty Mauve, these were on sale, half price I believe (don't quote me on that, I am really not sure). And finally Two of the Sally Hansen Magnetic polishes. Normally the Magnetics would have been around 10 dollars but Walgreens had them HALF-PRICE. So I HAD to get the two colors i have been eying for ever. Those Colors being Polar Purple and Ionic Indigo.

All told the 8 polishes came out to less than 25 dollars. My bill was $18 and change and my mom's was about $6.

So of course as soon as I got home I had to slap them all on. Wrestling with my camera tonight has been a chore so you only get to see the results of one hand's worth of polish. Four of the new colors all on my main digits.


From left to right, pinky to index, we have:
SinfulColors Black Magic over Snow Me White
Wet-n-Wild MegaLast, Lethal Injection
Wet-n-Wild MegaLast,  Toxic Apple
Wet-n-Wild MegaLast, Poison Ivy

SinfulColors' Black Magic is quite pretty and VERY Halloweeny with super fine dark grey glitter mixed with regular sized orange glitter. You can't see it well in the above photo but the distribution of the glitter was great even with me sloping it on like an idiot.

Wet-n-Wild Lethal Injection is what I would consider a lovely burgundy. It looks significantly less purply-pink in real life compared to my photo. Application was smooth as silk but did require two coats.

Wet-n-Wild Toxic Apple is what many people refer to as a "blurple" in the bottle it looks solid deep, ever so slightly blue tinted purple, on the nail it is a little shifty between royal blue and that same gorgeous purple shade the bottle promised. Application, again, was nice and smooth and also required two coats.

Wet-n-Wild Poison Ivy, where do I start with this utterly fantastic green..... It's like the deep woodsy green I never knew I was sorely missing. In the bottle it is gorgeous, on one's nail it is fantastic. It is easily one of my favorite greens ever as of today. Application was a little less that perfect. first coat was a pinch streaky, second coat cleared that up nicely however and after those two coats is was ready for a clear top coat.

And for funsies, want to see how my nails looked before i cleaned up the "stray" polish on my skin? OF COURSE YOU DO! It's a lovely fiasco. xD


Also look at how not glossy they looked! How icky!

Anyway tahtah for the night. Unless I get ambitions and try to get a good picture of my left hand too.

Thursday, October 17, 2013

Quick update:

As you may or may not know I am a bit of a video game addict fan. Well on October 1st two games I have been waiting on were released. So for about 10 days I went into a game induced reclusive stage.

Then sometime around the 10th or 11th I got sick. Really, REALLY sick. I still am sick. Last time I did my nails was on the 12th for Pokémon X/Y's release. And here I sit on the 17th, still sick and still with pokeballs on my tips.

Also my nails managed to turn hideously yellow when I did an orange base with crackle as a test before possibly using the same combo on Halloween. Guess which orange I'm not using again until I get a better base coat.... or maybe since my nails already got messed up it doesn't matter much. xD

Along with being sick I have really bad anemia. Like so bad that the Doctor who saw my blood tests was telling me I was borderline needing a blood transfusion. I knew I was low in iron, but not THAT low. SO now I am taking three iron pills a day as well as my other regular meds and I need to get a new primary care provider to manage and follow my progress for this. My previous primary doctor retired... like a year and a half ago.... sooo I'm a bit over due for a regular check up and stuff. (I hate going to the doctor if you didn't notice)

Anyway maybe in a week or so I will be back to painting and posting. Depending on my health, and my energy levels.

See ya later guys.

Saturday, September 28, 2013

Day 28, Inspired by a Flag. American Flag

Not that I am super patriotic but I knew I could pull off an American flag with the colors and stamps I have.

I used red base color on my fingers and a blue base color on my thumb, then stamped white striped on the red fingers and a white star on the blue thumb. Very quick and easy.


Day 27, Inspired by Artwork. "Watercolor"

I chose watercolors because I had not done water color nails before. It was pretty fun and easy and quicker than I expected. I did different color schemes on each hand since I wasn't going anywhere and I knew it'd be coming off within 24 hours anyway.

Here is how they turned out:


As you can see I got it all over my skin but I tend to do that all the time anyway. I tried cleaning it up but got really tired of the cleaning process pretty quick (again as usual) so I stopped once it looked "okay."


I definitely like the left hand (first picture) better. I'll be posting today's (day 28) here pretty quick too. Anyone done water color nails before? I found it pretty fun.

Thursday, September 26, 2013

Combo, Days 25 & 26.

Inspired by "Fashion" and "A Pattern" I chose the pattern "houndstooth" and the fashion aspect was fall colors. Once again half way through I decided I didn't like something and did a switheroo. On my right had I have China Glaze Agro stamped with SinfulColors Rich in Heart on my left China Glaze Agro stamped with SinfulColors Mercury Rising. I like my left hand sooo much better.

Anyway here are the photos. :3


Prett pretty. :3

Combined Days 23+24: Inspired by a Book & Movie

So because I have fallen behind I combined days 23 and 24, my Harry Potter nails are inspired by books and movies! Yaay! I'm such a cheater.... ANYWAY.

I chose to do house colors on my fingers and A skull and snake on my thumb to represent the Death Eaters/Voldemort.To achieve this particular manicure I used 10 polishes. Plus top and base coats.  I wound up doing the design twice because I didn't like how the lines on the original house color nails turned out. I had hoped it would turn out more plaid but it didn't. Then I learned a new way to use my stamper to pick up the image and avoid smearing the polish on the plate. YAY! it made it so I am able to pick up my ACTUAL plaid stamp without it smearing all over it's self. So hurrah for do overs. Also the ring finger (Ravenclaw) had to be redone three times total because the first color I used for bronze came out WAY too orange. I will share all the different "finished" designs so you can see the evolution.

First off with the overly orange Ravenclaw ring finger:


Next we have the "fixed" ring finger but the wrong stripes:


And finally we have the PERFECT house colors! Except somehow I got a black speck on my index finger that was in my top coat's brush. Weird right? But at this point I am pretty much thinking "Redo? NOPENOPENOPE" Anyway here is the final Harry Potter paint job:


An all the colors used were:

Thumb: PureIce Black Out, Sally Hansen Xtreme Wear White On, Sally Hansen Xtreme Wear Mint Sorbet
Index: KleanColor Metallic Yellow, KleanColor Metallic Red
Middle: Pure Ice Silver Star, China Glaze Agro, 
Ring: KleanColor Metallic Mango(1st) Pure Ice Fast Lane (2nd), KleanColor Metallic Sapphire
Pinky: Sally Hansen Xtreme Wear Mellow Yellow, Pure Ice Black Out


So, there we have Days 23 and 24, Inspired by a Movie and Book!

Tomorrow I will be combining Fashion and Pattern! Once again I will be a sneaky cheater!

Sunday, September 22, 2013

Day 22: Inspired by a Song, Boris the Spider.

First off, I was looking forward to this, I had so many song ideas and then I decided on a song that has a nostalgic good-feely memories. It's "Boris the Spider" by The Who. When I was in 5th grade my teacher would take any toy a kid had out during class and hold it for the day. At the end of the day he would get on the over head projector and have his plastic tarantula "eat" the offending toy and it would be returned to the kid as we were leaving to go home. While the spider was having it's meal he would play "Boris the Spider" on a little boombox. That teacher was easily one of my favorite teachers ever. He was a cool dude.

For the nails I used a base of KleanColor Metallic Aqua (cuz I like blue) then stamped with KleanColor Metallic Black. I WAS gonna stamp with PureIce Black Out but I didn't like how it looked so I switched to my only other black. I finished off with a matte top coat which helped bring out the spiders, since metallic stamps tend to blur into metallic backgrounds. However my matte top coat isn't super great quality.

RESULTS:


I like how they turned out. Not super fantastic but still pretty awesome.

And for reference The song:


Saturday, September 21, 2013

Day 21: Inspired by a Color

I chose (like a few other nail bloggers) to interpret this prompt as "inspired by a color name" as in the names ont eh bottom of polish bottles. I went with the color Silver Star, by Pure Ice. I did a base coat of darker silver, SinfulColors' Silver Screen, then stamped stars on my nails with PureIce's Silver Star polish. the stamp plates used were Mash 36 and Mash 49. The results:


I think it turned out GREAT. I was initially afraid the silvers would be too similar but they surprised me and contrasted JUST enough to make a very pretty silver star print.

How did you interpret today's prompt?

Days 19 & 20

I have a galactic fail and a pretty water marble to share this morning. My attempt at galaxy nails for the first time went over pretty badly mainly because it all wound up blue on accident. I will try again some time in the future and try to avoid the blue fiasco. Maybe I will have a good glitter to use then too.... anyway here it is:


I used a black base with three or four colors forthe galaxy/nebula bits and they looked good then I went to add a top layer of a glitter aaaand because I didn't check it first to be sure it turned out it wasn't a clear base but a blue sheer one.... whoopsies. It's not totally awful but I still really dislike it.

And my water marble I was super happy with. I did a dry water marble, using More Nail Polish's method.  I used Salon Perfect Baby Blues fro my main color and Sally Hansen Xtreme Wear Blue Me Away for the marble. The result is as follows:


Very, very pleased with this one and will keep it most of today as well  (day 21) but will change it later after my day is mostly over. And for now I need to sleep, my niece is having a birthday party at one and I need to sleep before I attend.

NIni every one!